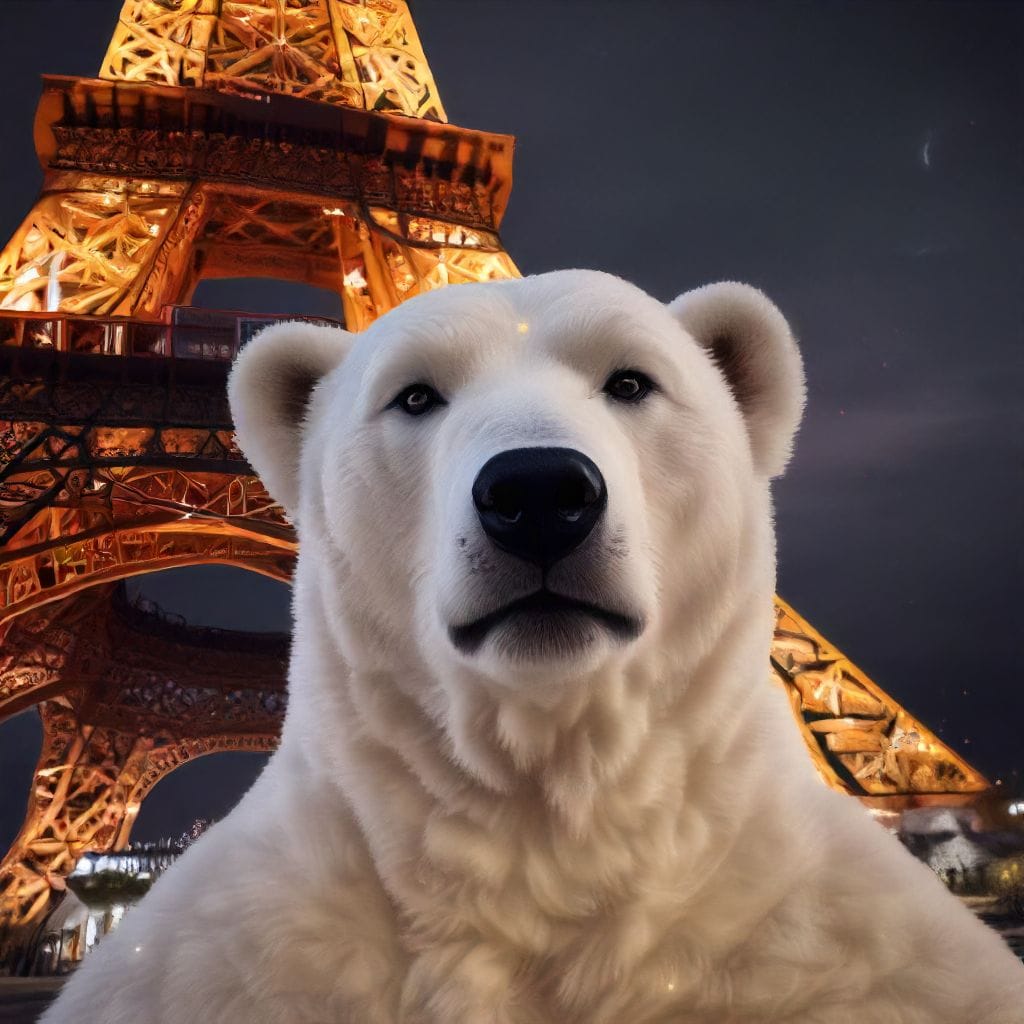
Stable Diffusion has become one of the most recognized tools in the world of text-to-image generation, enabling users to create visually compelling images from simple text prompts. It’s widely used for creating everything from digital artwork and marketing visuals to conceptual design and beyond. But how well does it perform, and where does it fall short? This blog delves into the Stable Diffusion demo, examining what works, and what doesn't.
For more specific details about stable diffusion, please refer to the below post.
 SOTAAZ
How to Run Stable Diffusion Versions Using Python
Stable Diffusion can be run locally or through cloud services using Python. Below is a step-by-step guide and sample code for running each version.
1. Setting Up the Environment
You’ll need Python installed, as well as the diffusers, transformers, and torch libraries. If you haven’t installed them, you can do so with the following commands:
pip install diffusers transformers torch2. Running Stable Diffusion 1.4
from diffusers import StableDiffusionPipeline
import torch

model_id = "CompVis/stable-diffusion-v-1-4"
pipe = StableDiffusionPipeline.from_pretrained(model_id, torch_dtype=torch.float16)
pipe = pipe.to("cuda")

prompt = "A futuristic city skyline at sunset"
image = pipe(prompt).images[0]

# Save the image
image.save("sd_1_4_image.png")
3. Running Stable Diffusion 1.5
model_id = "runwayml/stable-diffusion-v1-5"
pipe = StableDiffusionPipeline.from_pretrained(model_id, torch_dtype=torch.float16)
pipe = pipe.to("cuda")

prompt = "A dragon flying over a medieval castle"
image = pipe(prompt).images[0]

# Save the image
image.save("sd_1_5_image.png")
4. Running Stable Diffusion 2.1
model_id = "stabilityai/stable-diffusion-2-1"
pipe = StableDiffusionPipeline.from_pretrained(model_id, torch_dtype=torch.float16)
pipe = pipe.to("cuda")

prompt = "A surreal landscape with floating islands and waterfalls"
image = pipe(prompt).images[0]

# Save the image
image.save("sd_2_1_image.png")
5. Running Stable Diffusion XL
model_id = "stabilityai/stable-diffusion-xl"
pipe = StableDiffusionPipeline.from_pretrained(model_id, torch_dtype=torch.float16)
pipe = pipe.to("cuda")

prompt = "A highly detailed futuristic robot with intricate designs"
image = pipe(prompt).images[0]

# Save the image
image.save("sd_xl_image.png")
These code snippets will generate images using each version of Stable Diffusion. You can adjust the prompt to create different visuals according to your needs.
Key Differences Between the Versions
While each version of Stable Diffusion can generate impressive visuals, there are notable differences that make them suitable for specific tasks:
- Stable Diffusion 1.4: Balanced speed and quality; good for general-purpose use.
- Stable Diffusion 1.5: Improved details and sharpness; great for high-detail images without sacrificing speed.
- Stable Diffusion 2.1: Excels at complex, abstract prompts; handles intricate scenes more effectively.
- Stable Diffusion XL: The best choice for photorealism and high-resolution images; ideal for professional projects requiring maximum detail and accuracy.
Request a Demo and Test It Yourself
If you're interested in trying these Stable Diffusion versions yourself, you can request a test demo link! When you subscribe, we will send you a unique demo URL that’s valid for 12 hours within 24 hours of your request. This will allow you to explore the capabilities of each version and see how they handle different prompts and styles.
Simply subscribe, and your demo link will be on its way!