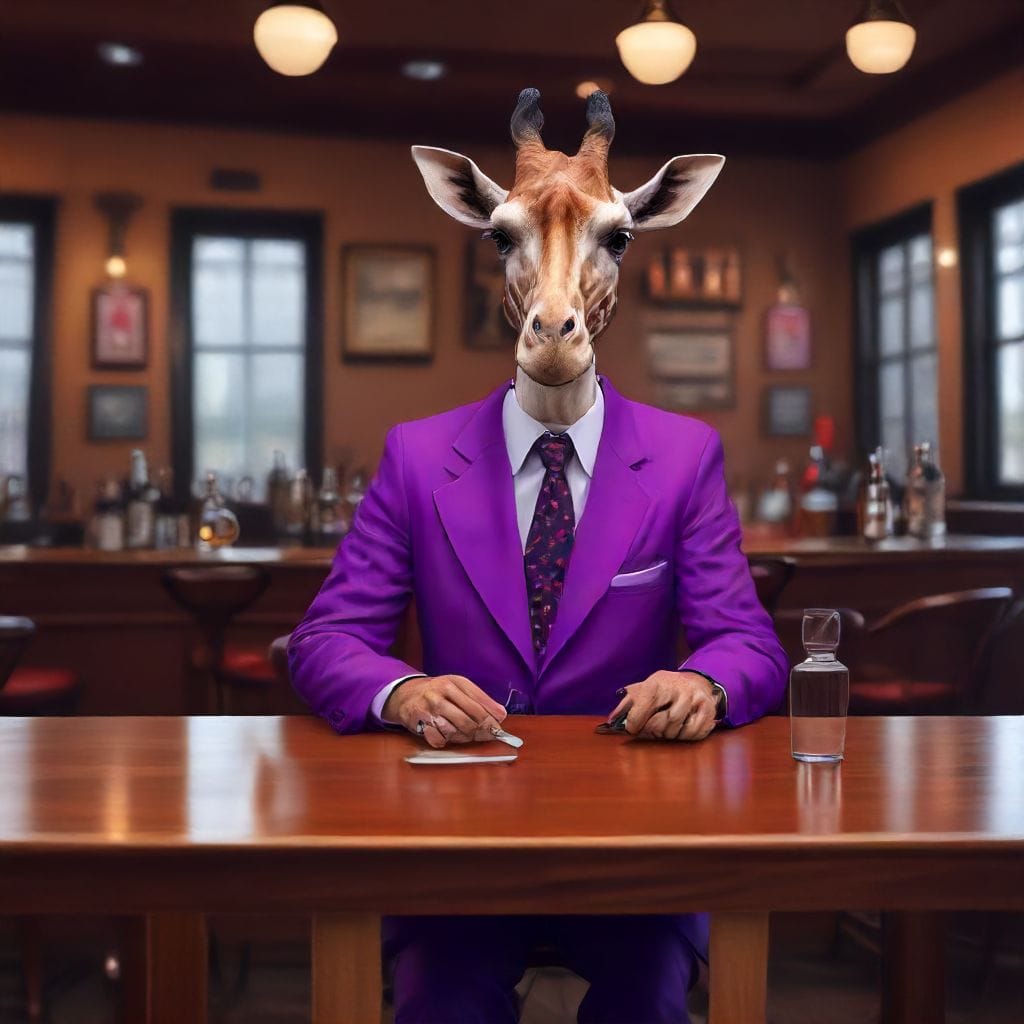
In today's world, where Artificial Intelligence (AI) is transforming industries and personal projects, one of the emerging trends is the creation of personalized AI profiles using image generation models like Stable Diffusion. AI-generated profiles can be used for a range of applications—from social media avatars to personalized content marketing campaigns, gaming characters, and even virtual influencers.
But how exactly does one generate an AI profile using Stable Diffusion? What are the technologies and principles behind it? And more importantly, how can you use this knowledge to create your own unique digital identity?
In this comprehensive guide, we’ll walk you through the steps of generating AI profiles with Stable Diffusion, explain the technology behind it, and cover everything you need to know to get started on your journey.
What is Stable Diffusion?
Before diving into generating AI profiles, it's important to understand the underlying technology.
Stable Diffusion is a powerful AI model that generates high-quality images from text prompts. It works by starting with random noise and gradually refining it to match the input description. This process is based on denoising diffusion probabilistic models (DDPMs), which allows the AI to reverse noise and create detailed images.
Stable Diffusion is open-source and highly flexible, making it an excellent tool for generating everything from AI profiles to art and product designs.
For a deeper dive into the technical details of how Stable Diffusion works, you can check out the more comprehensive explanation in this detailed guide.
 SOTAAZ
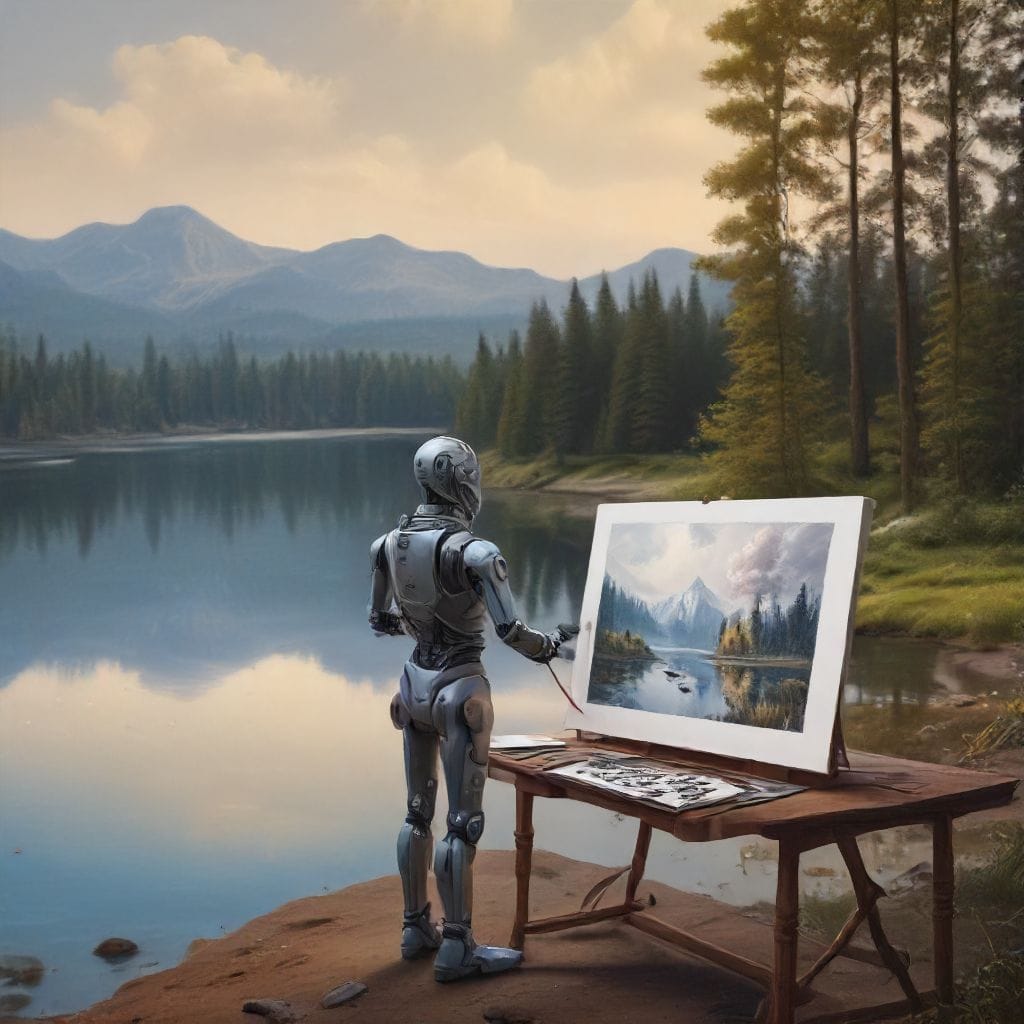 SOTAAZ
 SOTAAZ
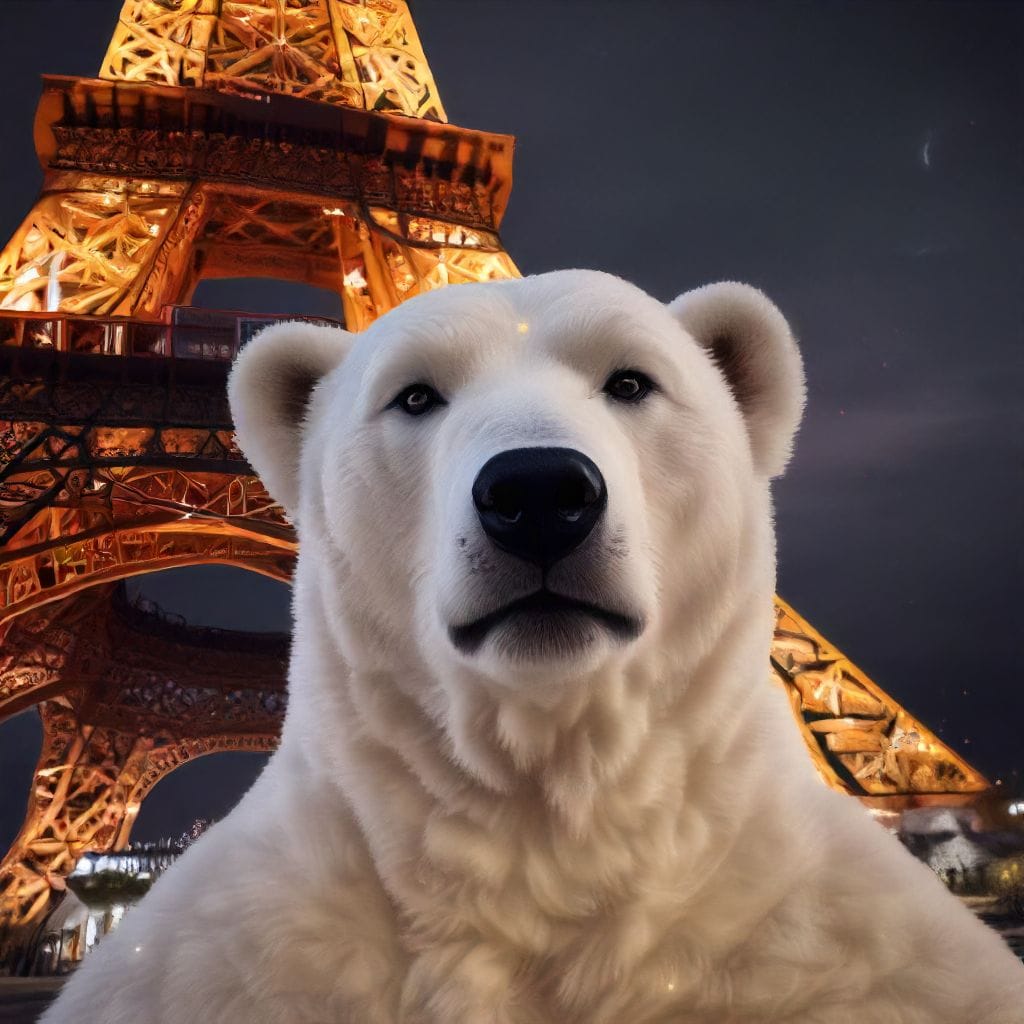
How to Generate AI Profile with Stable Diffusion WebUI
Now that we’ve established the technology, let's explore the practical steps of generating an AI profile using Stable Diffusion. The process is straightforward, especially when using tools like the SD Reactor or pre-built interfaces that integrate with the Stable Diffusion model.
Step 1: Setting Up Stable Diffusion
To start generating AI profiles, you must set up Stable Diffusion on your system. This can be done using tools like AUTOMATIC1111's Stable Diffusion WebUI, which provides a convenient interface for interacting with the model.
Here’s how to set up Stable Diffusion on your machine:
Install Python and Git
If you haven’t already, install Python and Git. Stable Diffusion requires Python for execution.
Download Stable Diffusion WebUI
You can get the WebUI from its GitHub repository. Clone the repository to your local machine using:
git clone https://github.com/AUTOMATIC1111/stable-diffusion-webui.git
Install Dependencies
Navigate to the cloned directory and run the installation script to install the required dependencies:
cd stable-diffusion-webui
./webui.sh  # Linux
webui.bat   # Windows
Download Pre-Trained Models
Stable Diffusion needs pre-trained models to generate images. You can download these models from the official sources or the Hugging Face Model Hub.
Launch the WebUI
Once everything is installed, launch the WebUI, and you’ll have a local interface to interact with the Stable Diffusion model.
Alternatively, you can use cloud-based platforms such as RunwayML, DreamStudio, or Hugging Face Spaces that offer Stable Diffusion pre-configured and ready to use.
Step 2: Input the Text Prompt
The next step is to create the textual description of the AI profile you want to generate. Stable Diffusion allows you to enter any kind of prompt, from a specific facial description to the style and mood of the image.
Here’s an example of a prompt to generate a professional-looking AI profile:
“A digital portrait of a young professional woman, medium-length brown hair, wearing a blue business suit, sharp facial features, smiling, in a minimalistic office setting.”
The key to generating a high-quality AI profile lies in how well you craft your prompt. Be as specific as possible to guide the AI in creating the desired output.
Prompt Engineering Tips:
- Be Descriptive: Mention specific details like hairstyle, clothing, facial expressions, and background environment.
- Use Adjectives: Adjectives like “sharp,” “professional,” or “friendly” help define the mood and tone of the profile.
- Style References: You can also include references to specific art styles, camera settings (e.g., “headshot”), or lighting conditions.
Step 3: Fine-Tuning the Profile
Once the initial image is generated, you may want to fine-tune it to get the exact look you’re aiming for. Stable Diffusion’s WebUI offers features like:
- Sampling methods: Use different sampling methods like Euler or DDIM to refine the image quality.
- CFG scale: Adjust the classifier-free guidance (CFG) scale to control how closely the image sticks to the original text prompt. A higher CFG value produces images that match the prompt more precisely.
- Image size: Specify the output image size, typically 512x512 pixels for web use.
Experimenting with these settings will allow you to fine-tune the AI profile according to your preferences.
Advanced Techniques for Profile Customization
Face Swap with Stable Diffusion
Once you've generated an AI profile, you may want to go a step further by customizing facial features. This can be done using Face Swap techniques, which are available through tools like SD-WebUI-Reactor. The SD-WebUI-Reactor project is a community-built extension that allows for advanced editing and customization of images generated by Stable Diffusion.
How Face Swap Works
Face swap with Stable Diffusion essentially involves replacing facial features of one image with those of another. Using techniques like latent space interpolation, you can guide the AI to blend features from different images while maintaining consistency in style and appearance.
To perform a face swap:
- Generate a base image: Create a base AI profile using the steps mentioned earlier.
- Select a reference image: Find or generate another image that contains the facial features you want to transfer.
- Apply the face swap: Using tools like SD-WebUI-Reactor, upload both the base image and the reference image. The tool will swap the facial features while preserving the stylistic elements of the base image.
This technique is particularly useful for creating ultra-customized avatars, fictional characters, or virtual personas.
Applications of AI Profile Generation
The ability to create AI-generated profiles opens up a world of possibilities. Here are a few common use cases:
1. Social Media Avatars
AI profiles can be used to create unique avatars for social media platforms like Facebook, Instagram, or LinkedIn. These avatars can be more engaging and personal than traditional photos, allowing you to stand out in a crowded digital space.
2. Marketing and Branding
Businesses can use AI profiles for marketing campaigns, customer engagement, and branding. Personalized profiles created using Stable Diffusion can be tailored to fit a brand’s identity and values, making them ideal for virtual assistants, chatbots, or even promotional content.
3. Gaming and Entertainment
In the gaming industry, AI profiles can be used to create realistic in-game characters or avatars for players. These profiles can be customized to reflect specific traits or features, adding a layer of personalization to the gaming experience.
4. Virtual Influencers
Virtual influencers are a growing trend, with AI-generated profiles becoming the face of brands on platforms like Instagram and TikTok. With Stable Diffusion, anyone can create a virtual influencer with a distinct look, personality, and style.
Conclusion: Start Your AI Journey Today
Stable Diffusion offers an exciting way to generate high-quality AI profiles that are customizable and versatile. Whether you’re a marketer looking for the next big trend, a gamer seeking unique avatars, or an artist exploring new forms of creativity, this technology provides endless possibilities.
By following the steps in this guide, you’ll be well on your way to creating personalized AI profiles that can be used for various applications. The process is simple, yet powerful, making it accessible to beginners and experts alike.
If you want to stay updated on the latest advancements in AI, including new tools, techniques, and projects like Stable Diffusion, make sure to subscribe to our blog. We regularly post content designed to help you navigate the AI landscape, so don't miss out!
Subscribe now and start your AI journey with us!